

What Nail For Subflooring Concrete
Last Updated on October 8, 2017 by
I mean, if that's not an exciting title, I don't know what is! 😀 Simply seriously, this was a major projection in the breakfast room, and I'1000 so excited to have information technology finished.
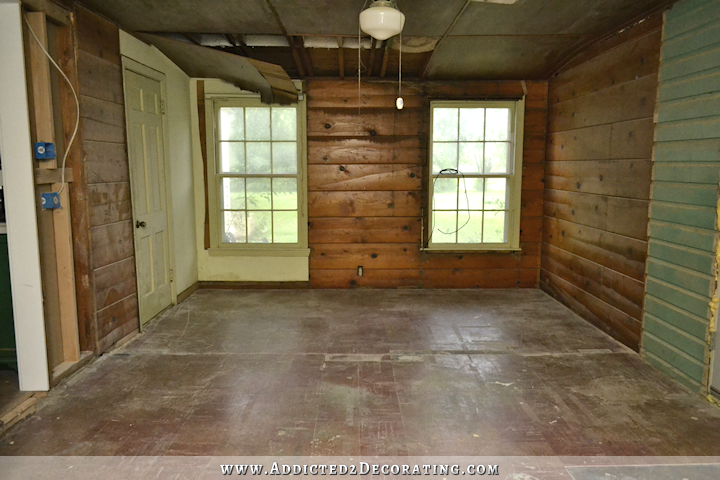
First, let's have a quick recap. Afterwards I removed the green carpeting from this room, this is the floor I was left with — asbestos tiles on elevation of a cracked and unlevel concrete slab…
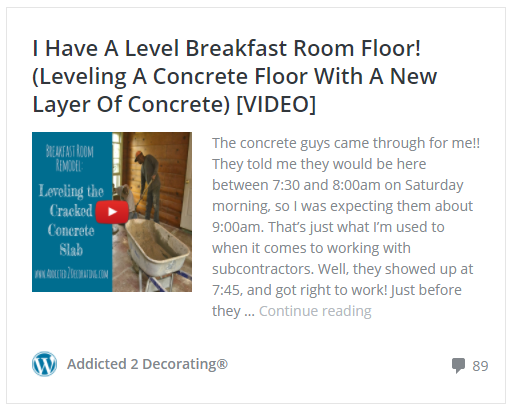
And so to get the concrete slab level, and too to encompass over the cracks, I had some concrete guys add a layer of new concrete over the top of the slab.

Yous can read more than about that, and even lookout a video of the procedure, here.
So for the concluding couple of weeks, I've been walking on a new level concrete floor in the breakfast room.
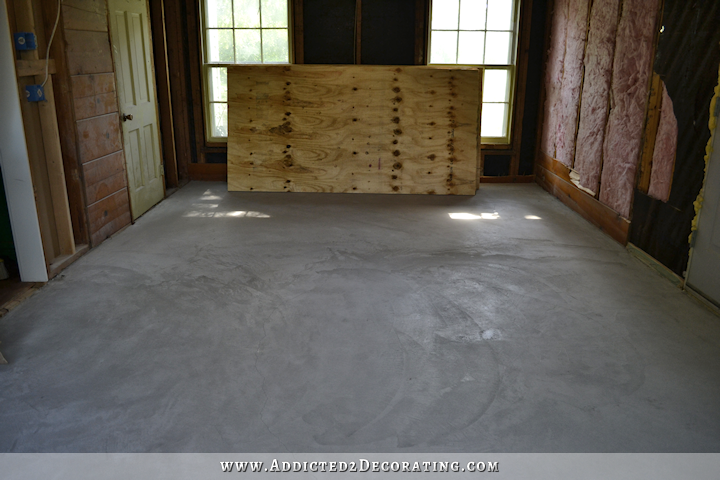
And while that progress was thrilling to me, it was far from finished. So this past weekend I got busy on the next step, and yesterday my brother came over and helped me with the hardest part.
So permit me back up and explain my thought process here, and tell yous how I decided to practise things the way I did them.
My idea for this floor was to (1) have new concrete poured to comprehend over the cracks and level the floor, (two) mucilage and screw three/4″ plywood to the tiptop of the new concrete to deed as a subfloor, and so (3) install blast-down red oak hardwood flooring to match the remainder of the house.
And then somewhere along the manner, some of y'all started asking, "Just what about a moisture barrier? Won't you need that over the concrete before y'all put your floor down?"
So I did some research and asked around, and indeed, I did need a wet bulwark.
I considered the wet barriers that come in sheets and roll out onto the subfloor. That wouldn't work for me because then I'd lose the power to gum my plywood to the concrete.
I considered using a moisture barrier betwixt the plywood and the hardwood floor, since the rest of the house has tar newspaper betwixt the subfloor and the hardwood floor. Merely the difference is that the residuum of the house is on a pier and axle foundation, and then the subfloor can "exhale" from underneath. If I put plywood on elevation of physical, so put a moisture barrier on top of that, I was afraid I'd be creating a mold convenance footing if moisture ever did find its fashion betwixt the concrete and the wet bulwark.
And so I remembered that I had seen a similar process (i.e., plywood subfloor over concrete slab for nail down hardwood flooring) over on Little Dark-green Notebook a while back, and then I searched and institute the method they used.
Equally it turns out, they used a troweled-on agglutinative that also acted every bit a moisture bulwark. Then I headed to Home Depot to find that adhesive. The just one I found was effectually $150 for a three-gallon container, and according to the spread rate, I would need ane whole container plus merely a niggling flake of a second container. And unfortunately, information technology didn't come up in single gallon containers. That meant that I'd exist spending $300 on adhesive, and I'd have a huge amount left over.
But price wasn't the only outcome. I was likewise concerned that the product was really made for gluing downwardly hardwood flooring on elevation of physical, and information technology said it could be used for flooring up to five inches wide. Well, my pieces of plywood were considerably wider than that, so I didn't really desire to utilize a product that wasn't made specifically for huge pieces of plywood subfloor.
So I searched for other options, and that'south when I came beyond RedGard. I've used RedGard before on the bathtub surround in my hallway bathroom remodel.
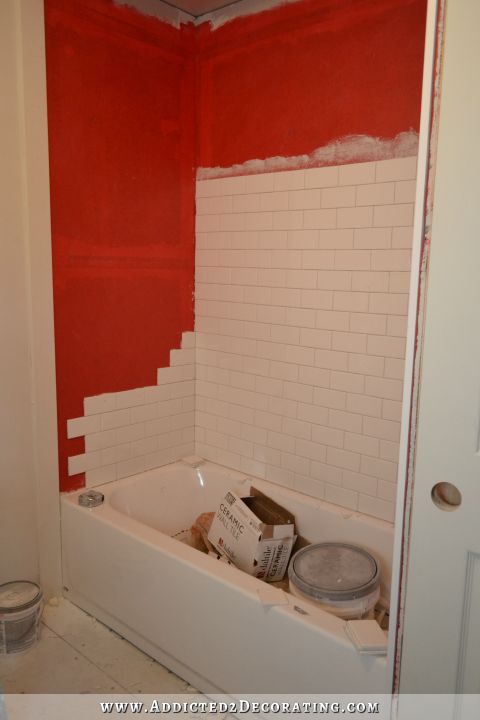
RedGard is a moisture bulwark that y'all pigment on with a brush and a roller, and yes, it's red. Really, information technology goes on pink, and it turns carmine when it's dry. It's not cheap either — about $130 for a 3-gallon container. But according to the spread charge per unit, i container would be sufficient for my room. And then I could utilize regular subfloor adhesive, which is MUCH cheaper, for the plywood.
Only what actually sold me on the RedGard for this room is that information technology'south not merely a moisture barrier, only it'due south also a cleft prevention membrane. I had already been told that the new layer of concrete would surely crack, and in fact, information technology was already developing some hairline cracks. Simply the hope is that even if information technology cracks, it will remain level. But a crevice prevention membrane would certainly aid! And then it sounded similar the perfect solution for me. I'd accept a moisture barrier, plus a crack prevention membrane, and once information technology was really good and dry out, I could use a much cheaper adhesive that's actually meant for plywood subfloors to glue the plywood down.
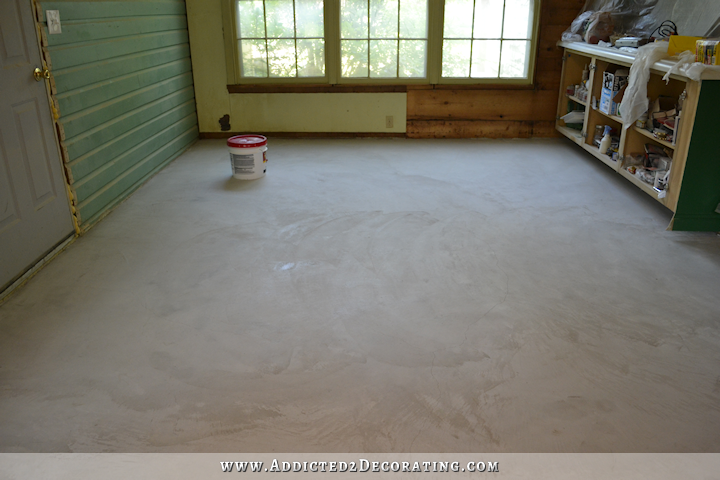
So I grabbed i 3-gallon container and got to work. Outset, I used a pigment brush to utilise the RedGard effectually the edges of the room.
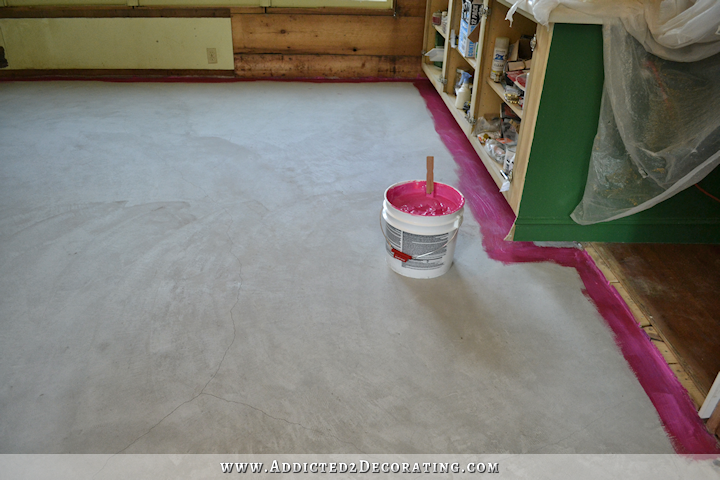
And I also used my castor to put a little extra on the hairline cracks that had formed in the new concrete.

And then I rolled it onto the residual of the floor using a 3/8″ nap roller.
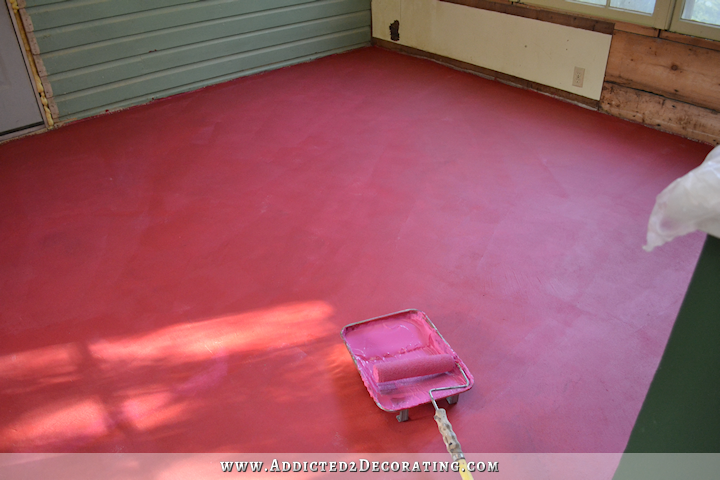
The first coat dried incredibly fast, literally inside minutes. The second glaze took longer — about two hours. When it's pink, it'south however wet. When it's all cerise, it's dry.

I bought the plywood before I fabricated the decision to employ RedGard, so it was already all stacked at the dorsum of the room, and there was no way I could move 12 sheets of 3/iv″ plywood past myself, and then I just had to paint effectually it.
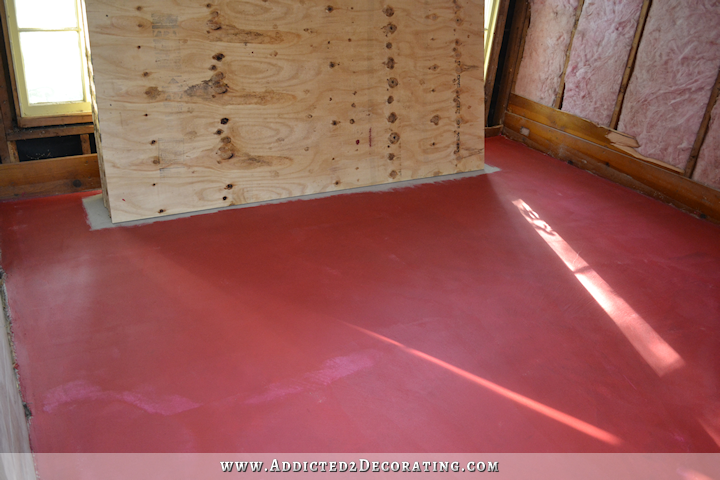
Information technology all worked out fine, though. As we uncovered that area while nosotros were installing the plywood, I was able to get 2 coats on that expanse as well.
So yesterday, my brother Rod came over and helped me install the plywood. It was difficult work, merely went actually smoothly.
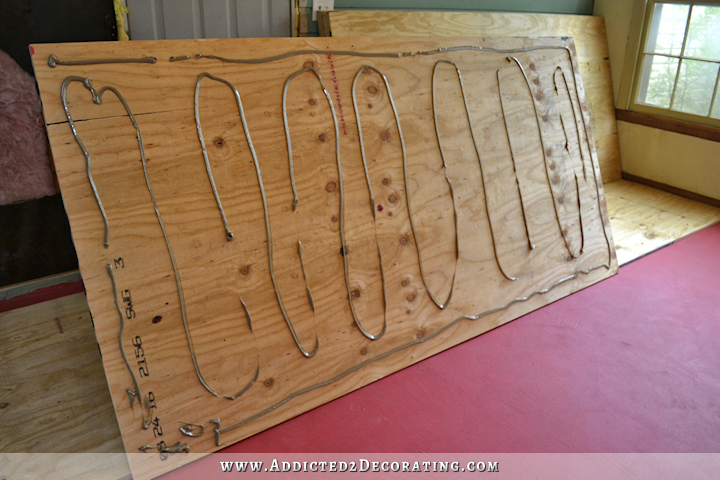
I used this agglutinative from Home Depot…
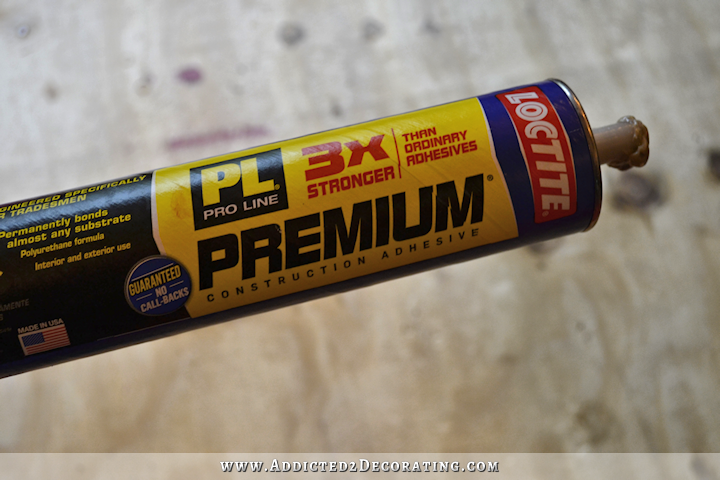
And I bought the large 28-ounce tubes. I used one tube per full sheet of plywood.
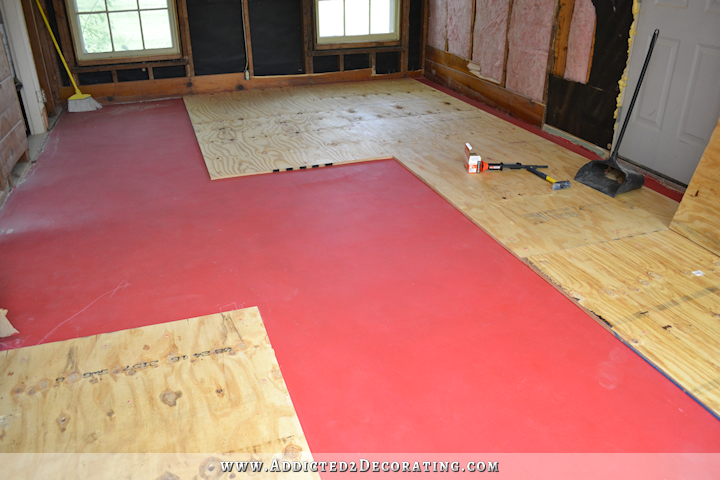
And so as each sheet was put into place, I used a Ramset pulverisation-actuated tool to drive nails through the plywood and into the concrete.

I'm not gonna prevarication. That tool scared me at first. I mean, it actually uses gun powder in a .22 guess crush to bulldoze the smash with such force that information technology goes into concrete. The showtime few were scary, but I got used to it pretty apace. If you use this tool, just be sure that you read the directions, and yes, have the online "licensing" examination. I idea information technology was really pretty silly, and mostly common sense stuff, but its still a proficient reminder that you're using a very unsafe tool. And definitely apply eye and ear protection during utilize.
Home Depot sells various models of this tool, starting at the depression end $27 model, and going upwards to something like $300. The i I bought (pictured above) is the cheapest one they had, and it worked perfectly. It's the kind that you lot have to hitting with a hammer (the more expensive ones have a trigger), and I constitute that if I used my 2.5-pound blacksmith hammer that I bought during the bathroom remodel to suspension up the tile floor…
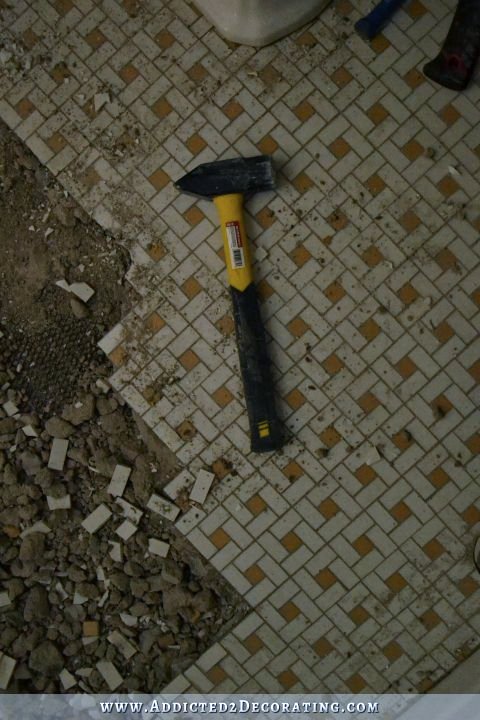
…the hammer did all of the work and saved my arm from having to swing a hammer so hard. And since the hammer head on a 2.5-pound blacksmith hammer is about three or four times the bore of a regular hammer, I had fewer misses than I would have trying to hit the button on top with a much smaller hammer head.
Anyhow, it took usa from 8:00am to 3:30pm, with about an hour for lunch, but we got information technology done! This room is far from square, and so all of the pieces around the edges requires special cuts with the circular saw to get them to go in, only we got information technology done.
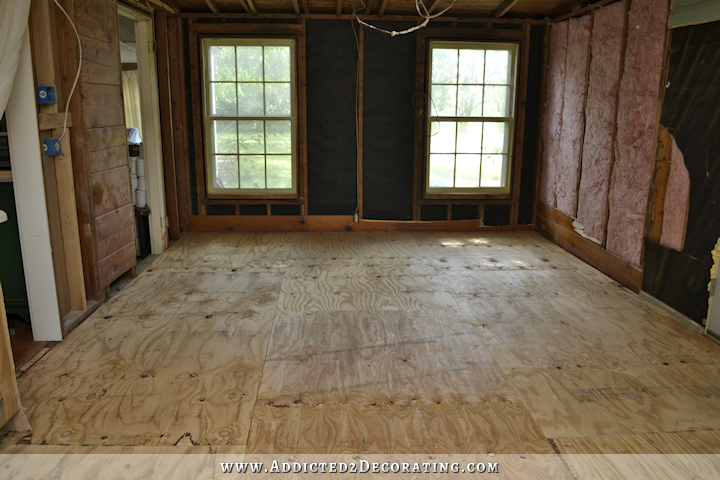
I know it doesn't await like much now, but the exciting office is that this room is now ready for hardwood flooring!!

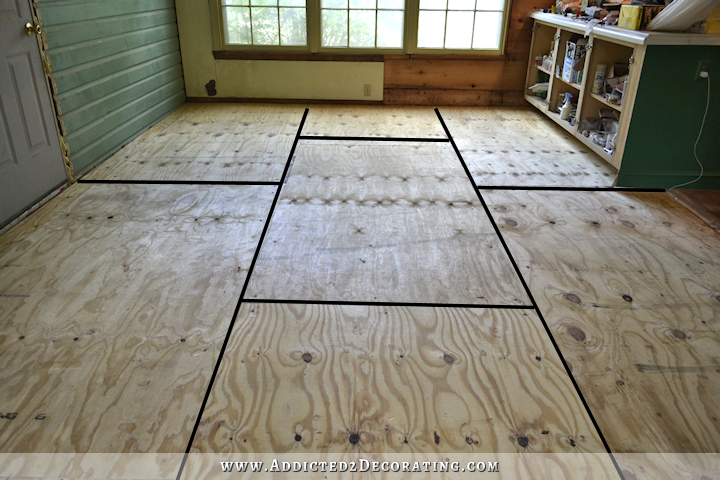
We staggered the plywood pieces. I've highlighted the seams in this photo to show you the design nosotros used.
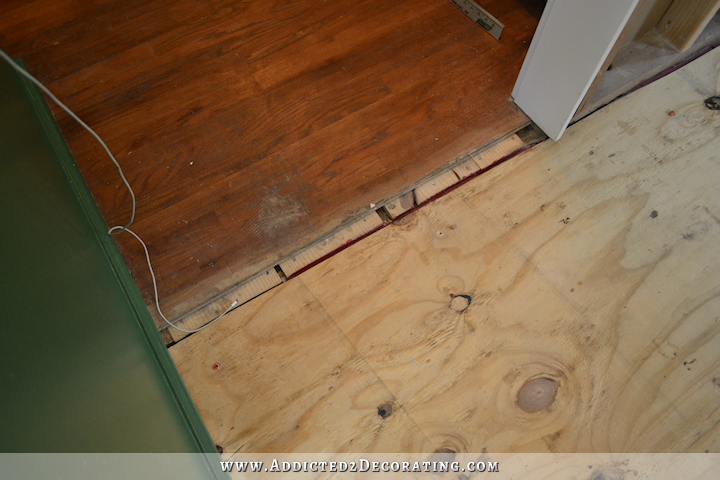
And now, this plywood subfloor is level with the 1 x 10 plywood subfloor under the hardwood floor in the kitchen. I simply need to seal those cracks with something, and then I'll exist ready to proceed the hardwood floor right into the breakfast room and pantry!
This was a huge project, and information technology feels so good to have it Washed! Now I'm 1 step closer to the pretty stuff. 🙂

Addicted 2 Decorating is where I share my DIY and decorating journeying every bit I remodel and decorate the 1948 fixer upper that my husband, Matt, and I bought in 2013. Matt has M.S. and is unable to practise concrete work, then I exercise the majority of the work on the business firm by myself. You can learn more near me here.
I hope you'll join me on my DIY and decorating journey! If you want to follow my projects and progress, y'all can subscribe below and have each new mail delivered to your email inbox. That manner you lot'll never miss a matter!

Source: https://www.addicted2decorating.com/breakfast-room-progress-plywood-subfloor-installed-over-concrete-slab-for-nail-down-solid-hardwood-flooring.html
Posted by: mitchellyoughought62.blogspot.com
0 Response to "What Nail For Subflooring Concrete"
Post a Comment